After installing OpenWorlds VR for 3rd Person, navigate to Plugins/OpenWorlds/Example Scenes and load the OpenWorldsVR example scene. Once you've tethered your VR headset to your PC, click play, put the headset on, and follow the prompts within the scene.
The hand controllers have been pre-configured for this example, but you can easily customize the settings in the Inspector panel for the OpenWorldsVRManager.
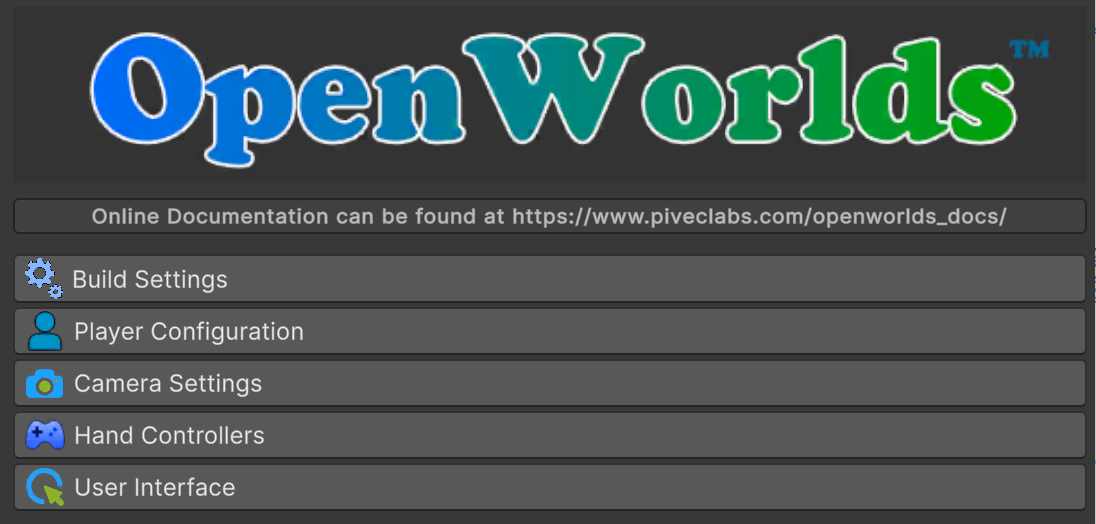
Click on each of the sections to see the configuration options, but for now, lets play with the pre-configured options.
We've also provided a series of example buttons linked to each of the hand control buttons and triggers. You can modify these to suit your needs, or create your own for your specific game.
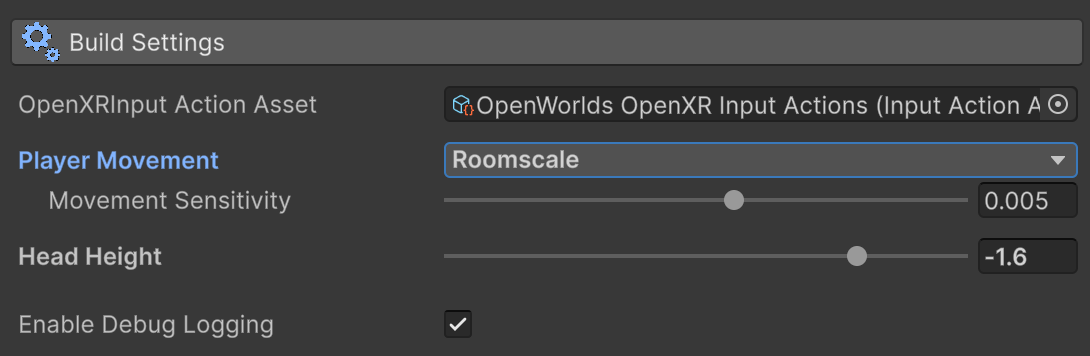
Movement Modes
You can select RoomScale or Stationary Movement under Build Settings / Player Movement. RoomScale will disable thumbstick movement but still allow for teleportation while enabling you to move around the room by actual walking, giving you six degrees of freedom (6DOF).
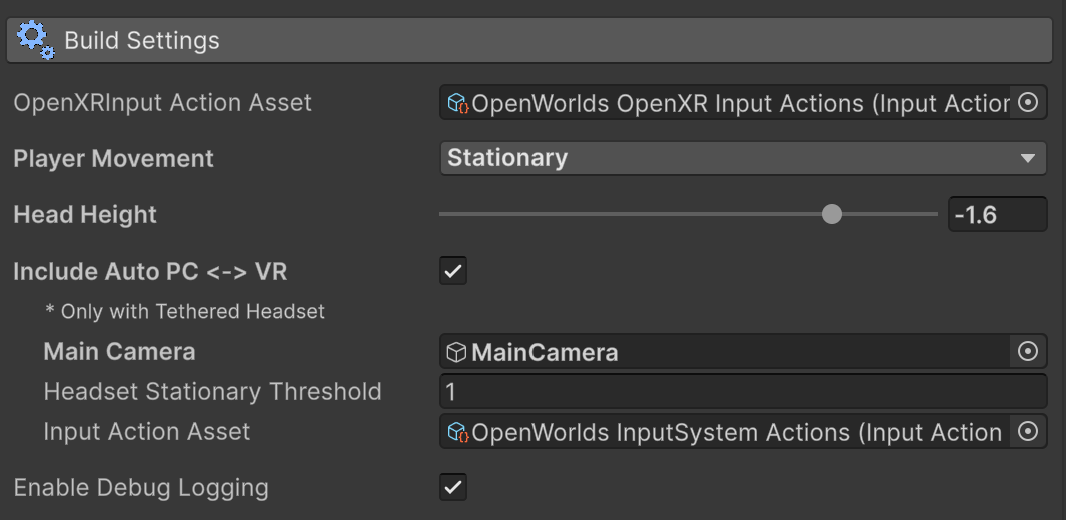
Auto PC to VR
In the Build Settings section, you can enable the Auto PC to VR option. This feature allows you to seamlessly switch between playing on the PC with a keyboard and using your VR headset. Simply put on your headset at any time to dive into VR, or remove it and place it on your desk or stand. After a brief stationary threshold (2 seconds in this example), you can continue the game with the keyboard. This flexibility opens up numerous interesting options and environments for your gameplay.
Project-wide Input Actions
If you're building a project from scratch and want keyboard/mouse control to work when the headset is off, make sure OpenWorlds InputSystem Actions is assigned as the Project-wide Input Actions asset (Edit → Project Settings → Input System Package). Without this, WASD and mouse look will not respond in desktop/off-head mode even with Auto PC to VR enabled.