
Tutorials
Quick Start Checklist
Follow the below steps to get VR up and running quickly with these simple steps.
- Create a new 3D project in Unity.
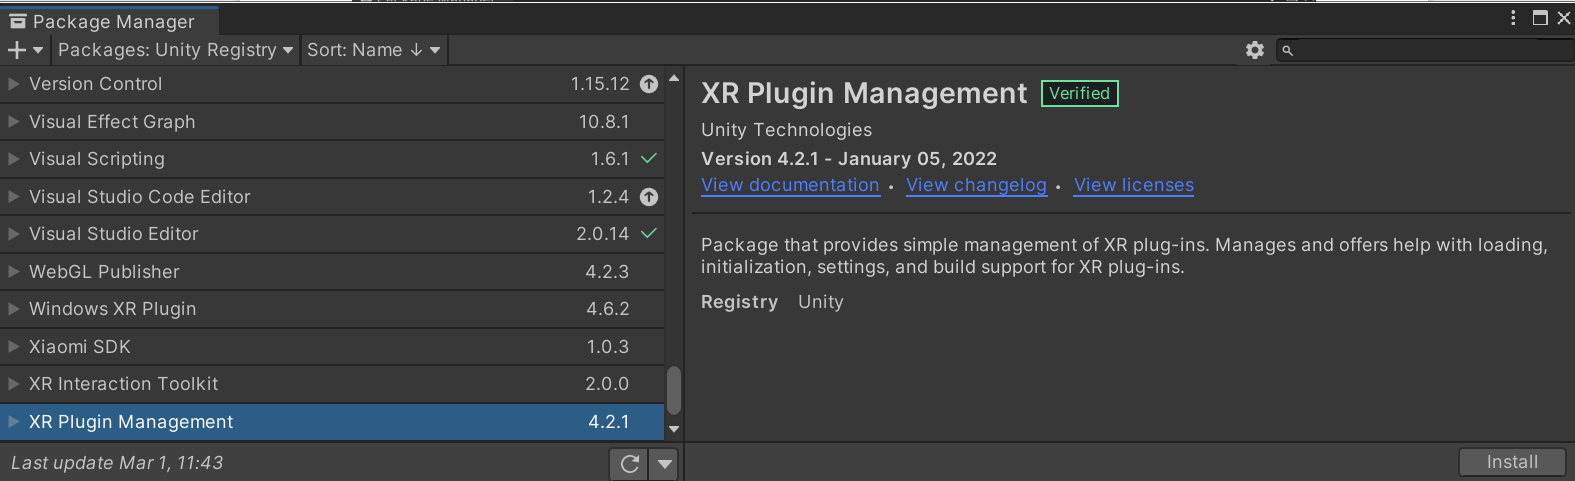
- Add Unity's XR Plugin Management and XR Interaction Toolkit to your project using the Package Manager.
- Configure the XR Plugin Manager for your VR device via the player settings for Android selecting Oculus, and for PC via Airlink, also selecting Oculus. If you are only setting up for the Quest or Quest 2, you can skip ahead.
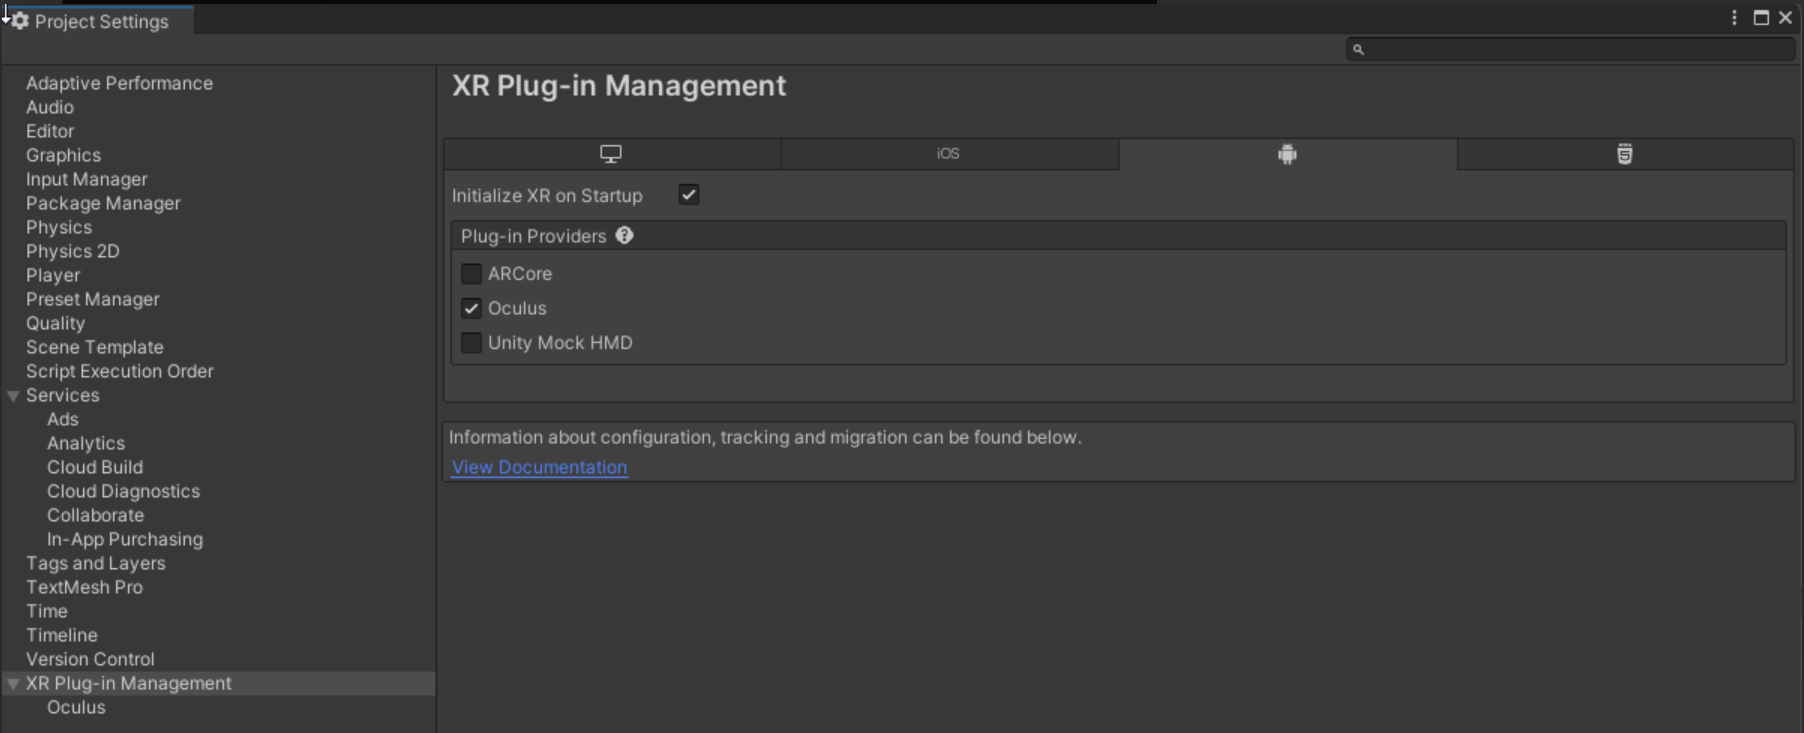
- For other Headsets, configure the XR Plugin Manager for your VR device via the player settings for PC, fixing any errors that occur.

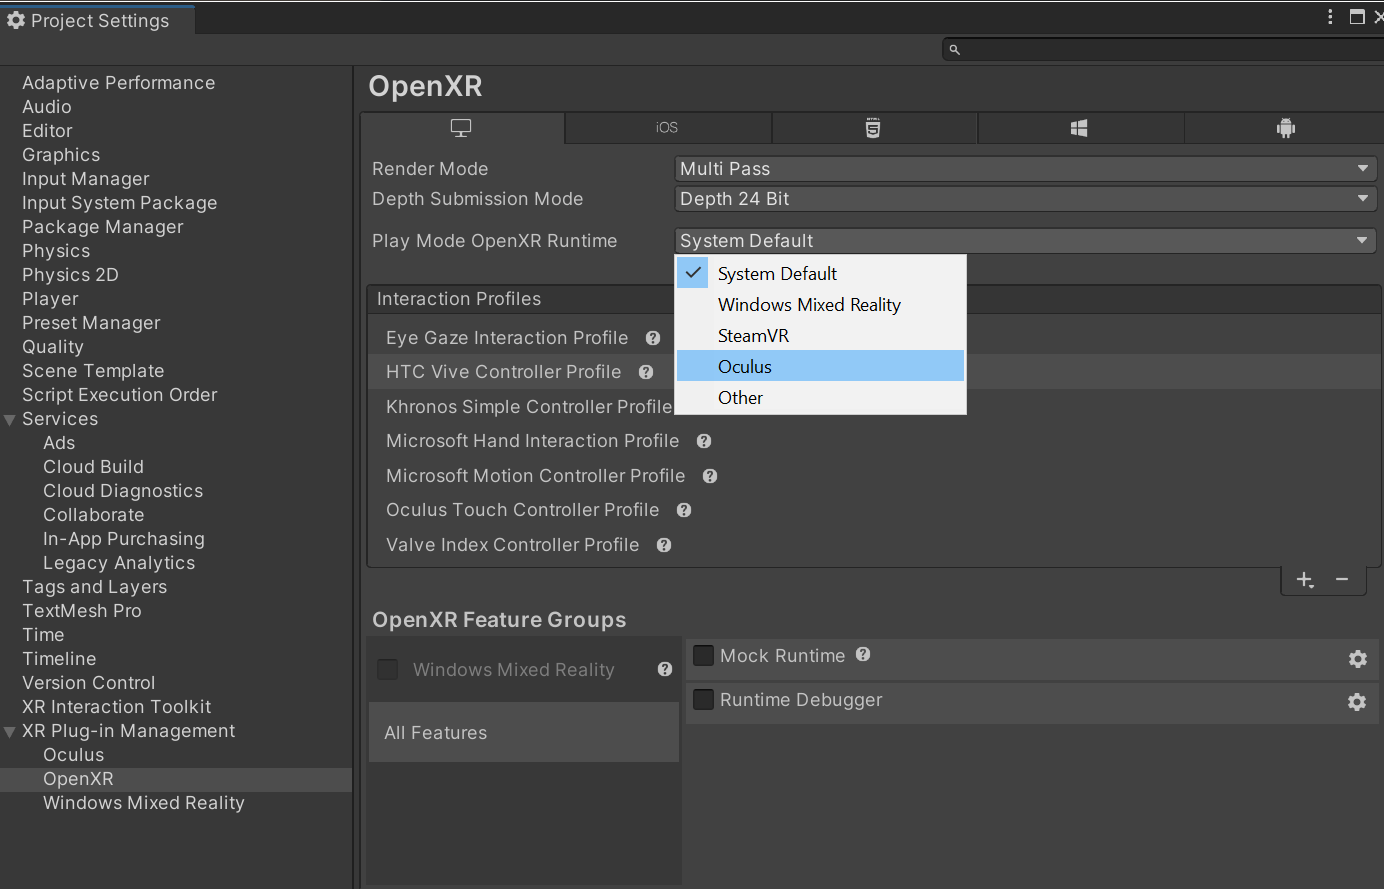
- Select the OpenXR in the Plug-in Management and create a Profile for the Headset that you are using. While you are there, set the Play Mode for OpenXR. This is usually Oculus or Steam, but you must have Steam or the Oculus App installed on your system.
- Set Input mode to Both in the Player Settings. Unity's XR uses the new and Game Creator 1 uses the old.

- Install Game Creator 1 and VR Module for GC1 from the asset store via Unity's Package Manager.
- Add a Player and a Camera Motor to your scene.
- Disable the Scene Main Camera if there is one.
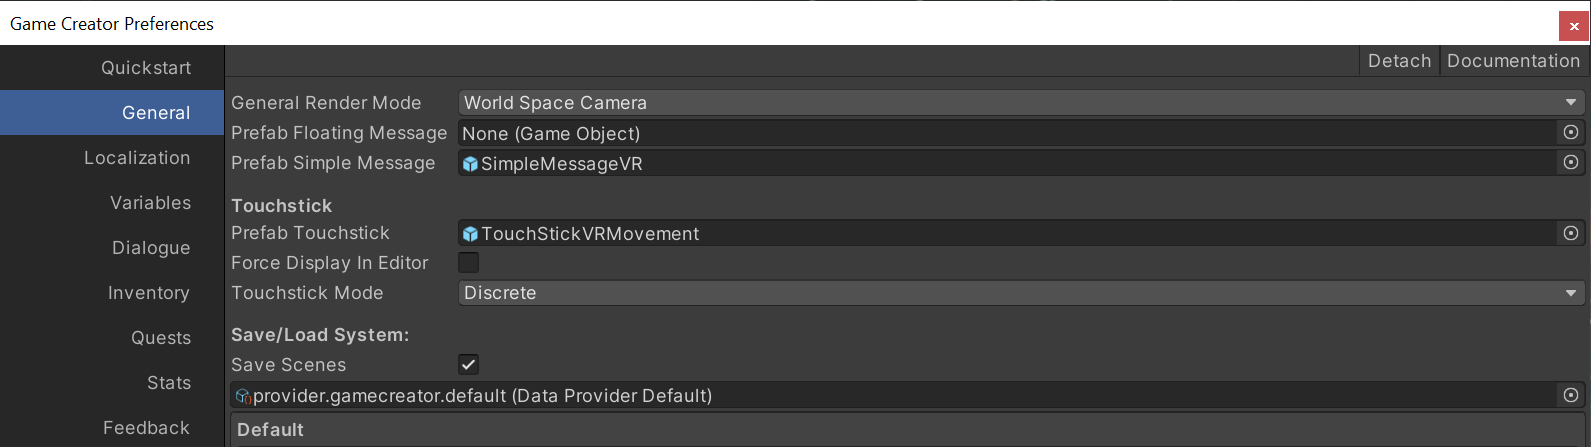
- Add the TouchStickVRMovement to the GC Preference Panel.
- Drag the XR Rig from the Prefabs folder into the Scene Hierarchy.
- Add the GC Camera Motor to the XR Rig Main Camera.
- Drag in the XR Manager into the scene.
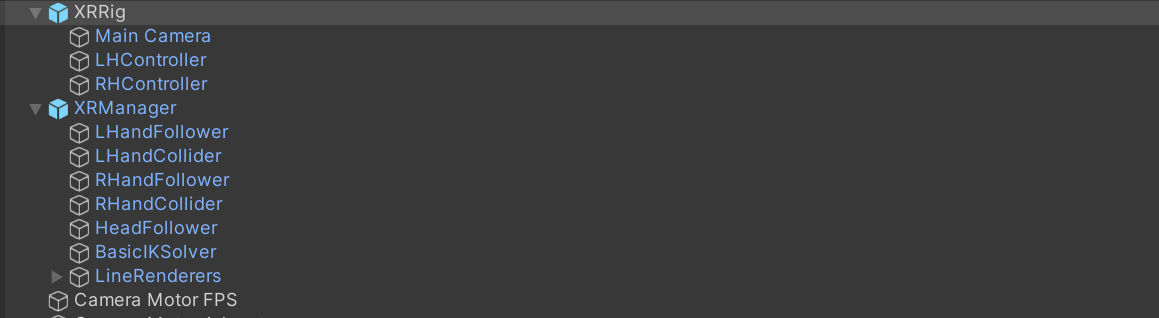
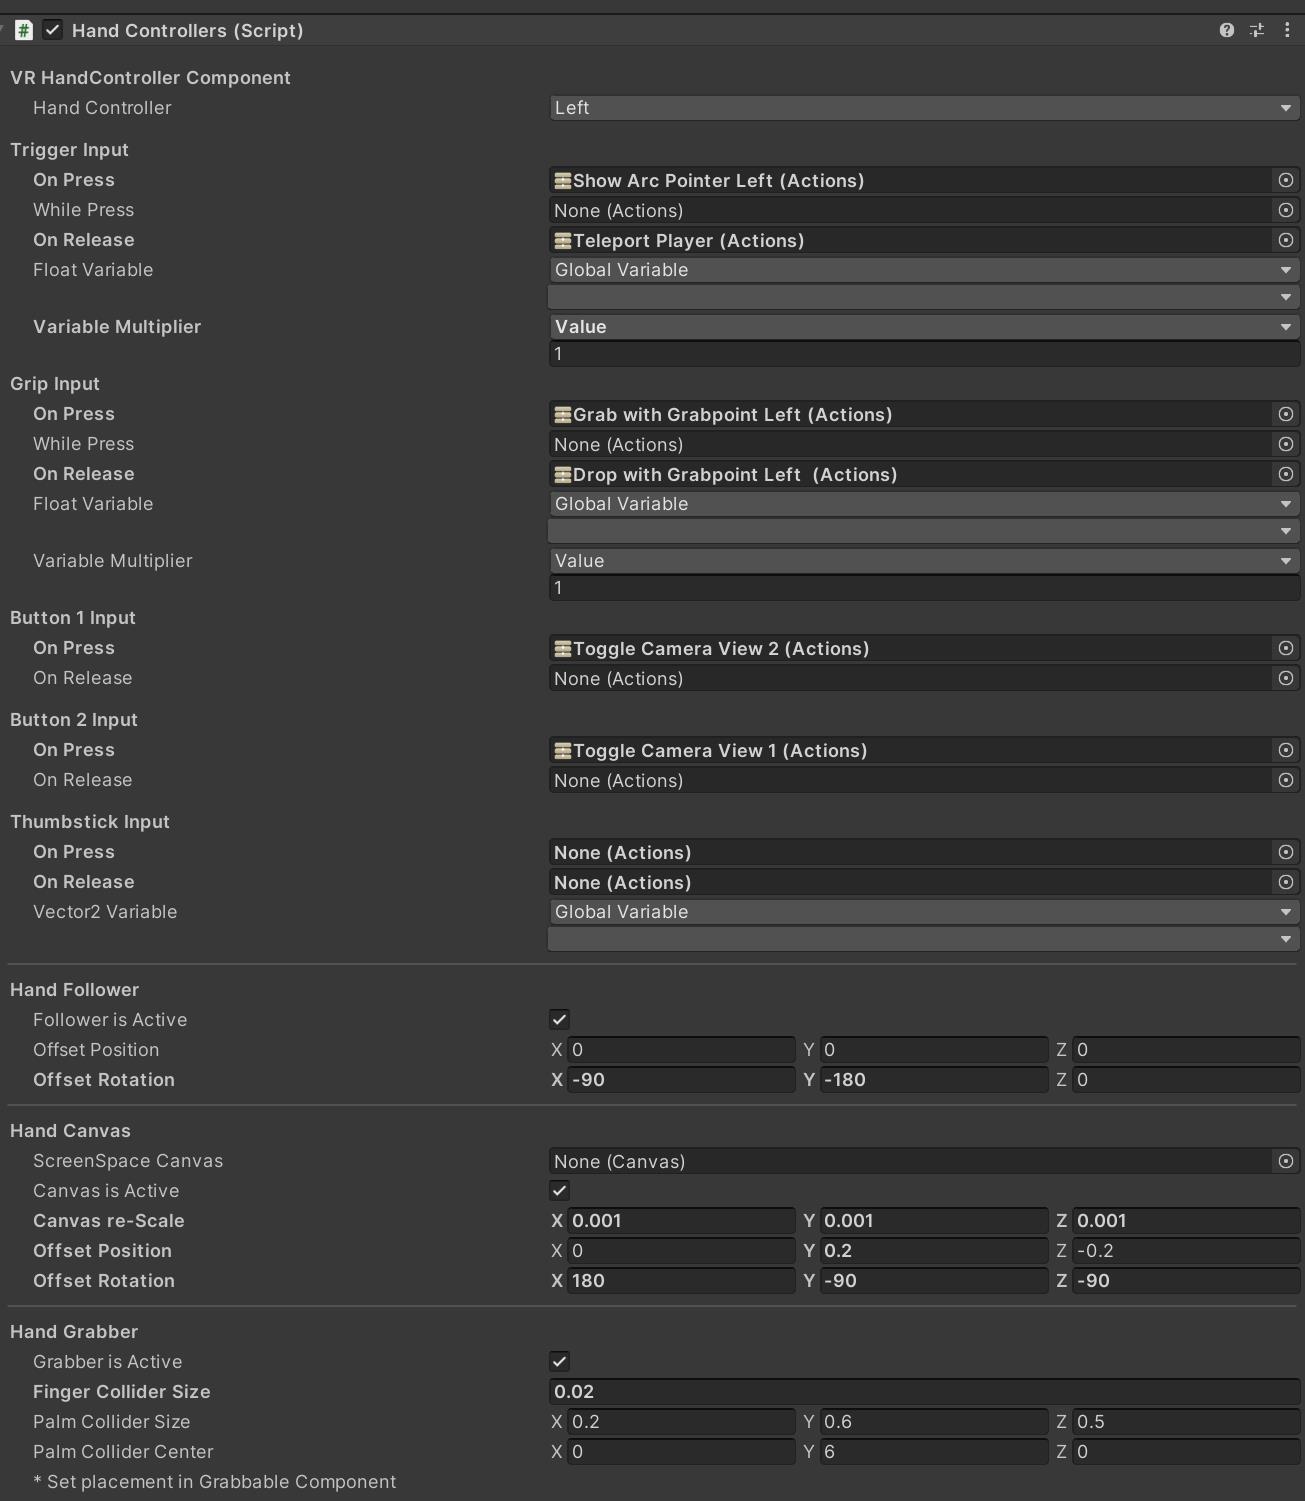
- Select each Hand Follower and add some Actions to the Inputs
- If you are not using the standard GC character, you may need to adjust the Hand Follower Rotations.
Useful Links
Pivec Labs |
||
|
||
|
||
|
||

|
||
|
|
|
Since |
2005 |
|
Awards |
||
Website |
||
|
|
|
|
|
|
|
||
ALL RIGHTS RESERVED © 2022 |
||